Welcome to the DFO World Wiki. With many major updates since the release of DFO, many items are missing. Visit Item Database Project to learn more.
Please remember to click "show preview" before saving the page.
Thanks for the updated logo snafuPop!
Difference between revisions of "Despairing Tiamat"
NoirGraves (talk | contribs) m |
NoirGraves (talk | contribs) m |
||
| (11 intermediate revisions by 2 users not shown) | |||
| Line 3: | Line 3: | ||
|Icon= | |Icon= | ||
|Name= Despairing Tiamat | |Name= Despairing Tiamat | ||
| − | |Image= | + | |Image= [[File:Tiamat2.png|250px]] |
|Age=Unknown | |Age=Unknown | ||
|Sex=Male | |Sex=Male | ||
| Line 13: | Line 13: | ||
}} | }} | ||
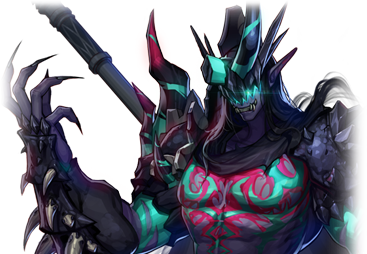
| − | '''Despairing Tiamat''' is one of [[Ozma]]'s [[Three Dark Knights]] who | + | '''Despairing Tiamat''' is one of [[Ozma]]'s [[Three Dark Knights]] who wields the power of '''Despair''' and was sealed away in [[Dark Side]] during the events surrounding the [[Black Crusade]] against the [[Priest Order]]. He would be revived during the Black Crusade Resurgence in Season 6. |
==Lore== | ==Lore== | ||
| + | <small><blockquote>'''Black Purgatory Lore:'''<i> | ||
| + | <p>Dear Despair,</br> | ||
| + | |||
| + | <p>In his pitch-dark cocoon, he replayed in his head over and over again how his horn broke off. | ||
| + | His sense of defeat, humiliation, contempt, and shame drove him | ||
| + | to hide his power and bide his time for the day he could finally get his revenge.</br> | ||
| + | |||
| + | |||
| + | <p>Let me lend you however much strength | ||
| + | Numerous pods of despair created during the Black Crusade. | ||
| + | His cradle consisting of the cocoons enveloped him as warmly as Chaos, | ||
| + | holding him, so he wouldn't forget his sense of revenge, no matter how much time passed.</br> | ||
| + | |||
| + | |||
| + | <p>I have left in me.</br> | ||
| + | |||
| + | <p>Finally, the day had come. | ||
| + | Listening to the breathy voices of his followers, he cut open his cocoon. | ||
| + | The familiar sight of enemies and the earth welcomed him.</br> | ||
| + | |||
| + | |||
| + | <p>"All of you are... I see. AHAHAHA!"</br> | ||
| + | |||
| + | <p>Watching the descendants of his enemies standing in front of him,</br> | ||
| + | |||
| + | <p>he hefted his spear, getting ready to spread more despair.</br> | ||
| + | </i><ref>[https://www.dnf-universe.com/story/m2pg42k5nj9w DFU - Despairing Tiamat]</ref></p> | ||
| + | </blockquote></small> | ||
==History== | ==History== | ||
{{SpoilerWarning}} | {{SpoilerWarning}} | ||
| − | =As an Enemy | + | ==As an Enemy== |
| − | |||
| − | |||
| − | |||
| − | |||
{{Monster infobox | {{Monster infobox | ||
|name=Despairing Tiamat | |name=Despairing Tiamat | ||
| Line 31: | Line 55: | ||
|family= | |family= | ||
}} | }} | ||
| − | + | ||
| − | ===Move Set=== | + | ====Appearances==== |
| + | {{Appears in}} | ||
| + | |||
| + | ====Otherverse==== | ||
| + | * Tiamat would originally make his boss debut inside the [[Interdimensional Rift]]'s [[Dark Side]] dungeon, and later seen as a Named Monster encounter in Time Gate's [[Black Crusade]] before they were completely removed. | ||
| + | |||
| + | ====Black Purgatory==== | ||
| + | * He makes his return in [[Black Purgatory]]'s [[Cradle of Despair]]. | ||
| + | |||
| + | ====Ozma Raid==== | ||
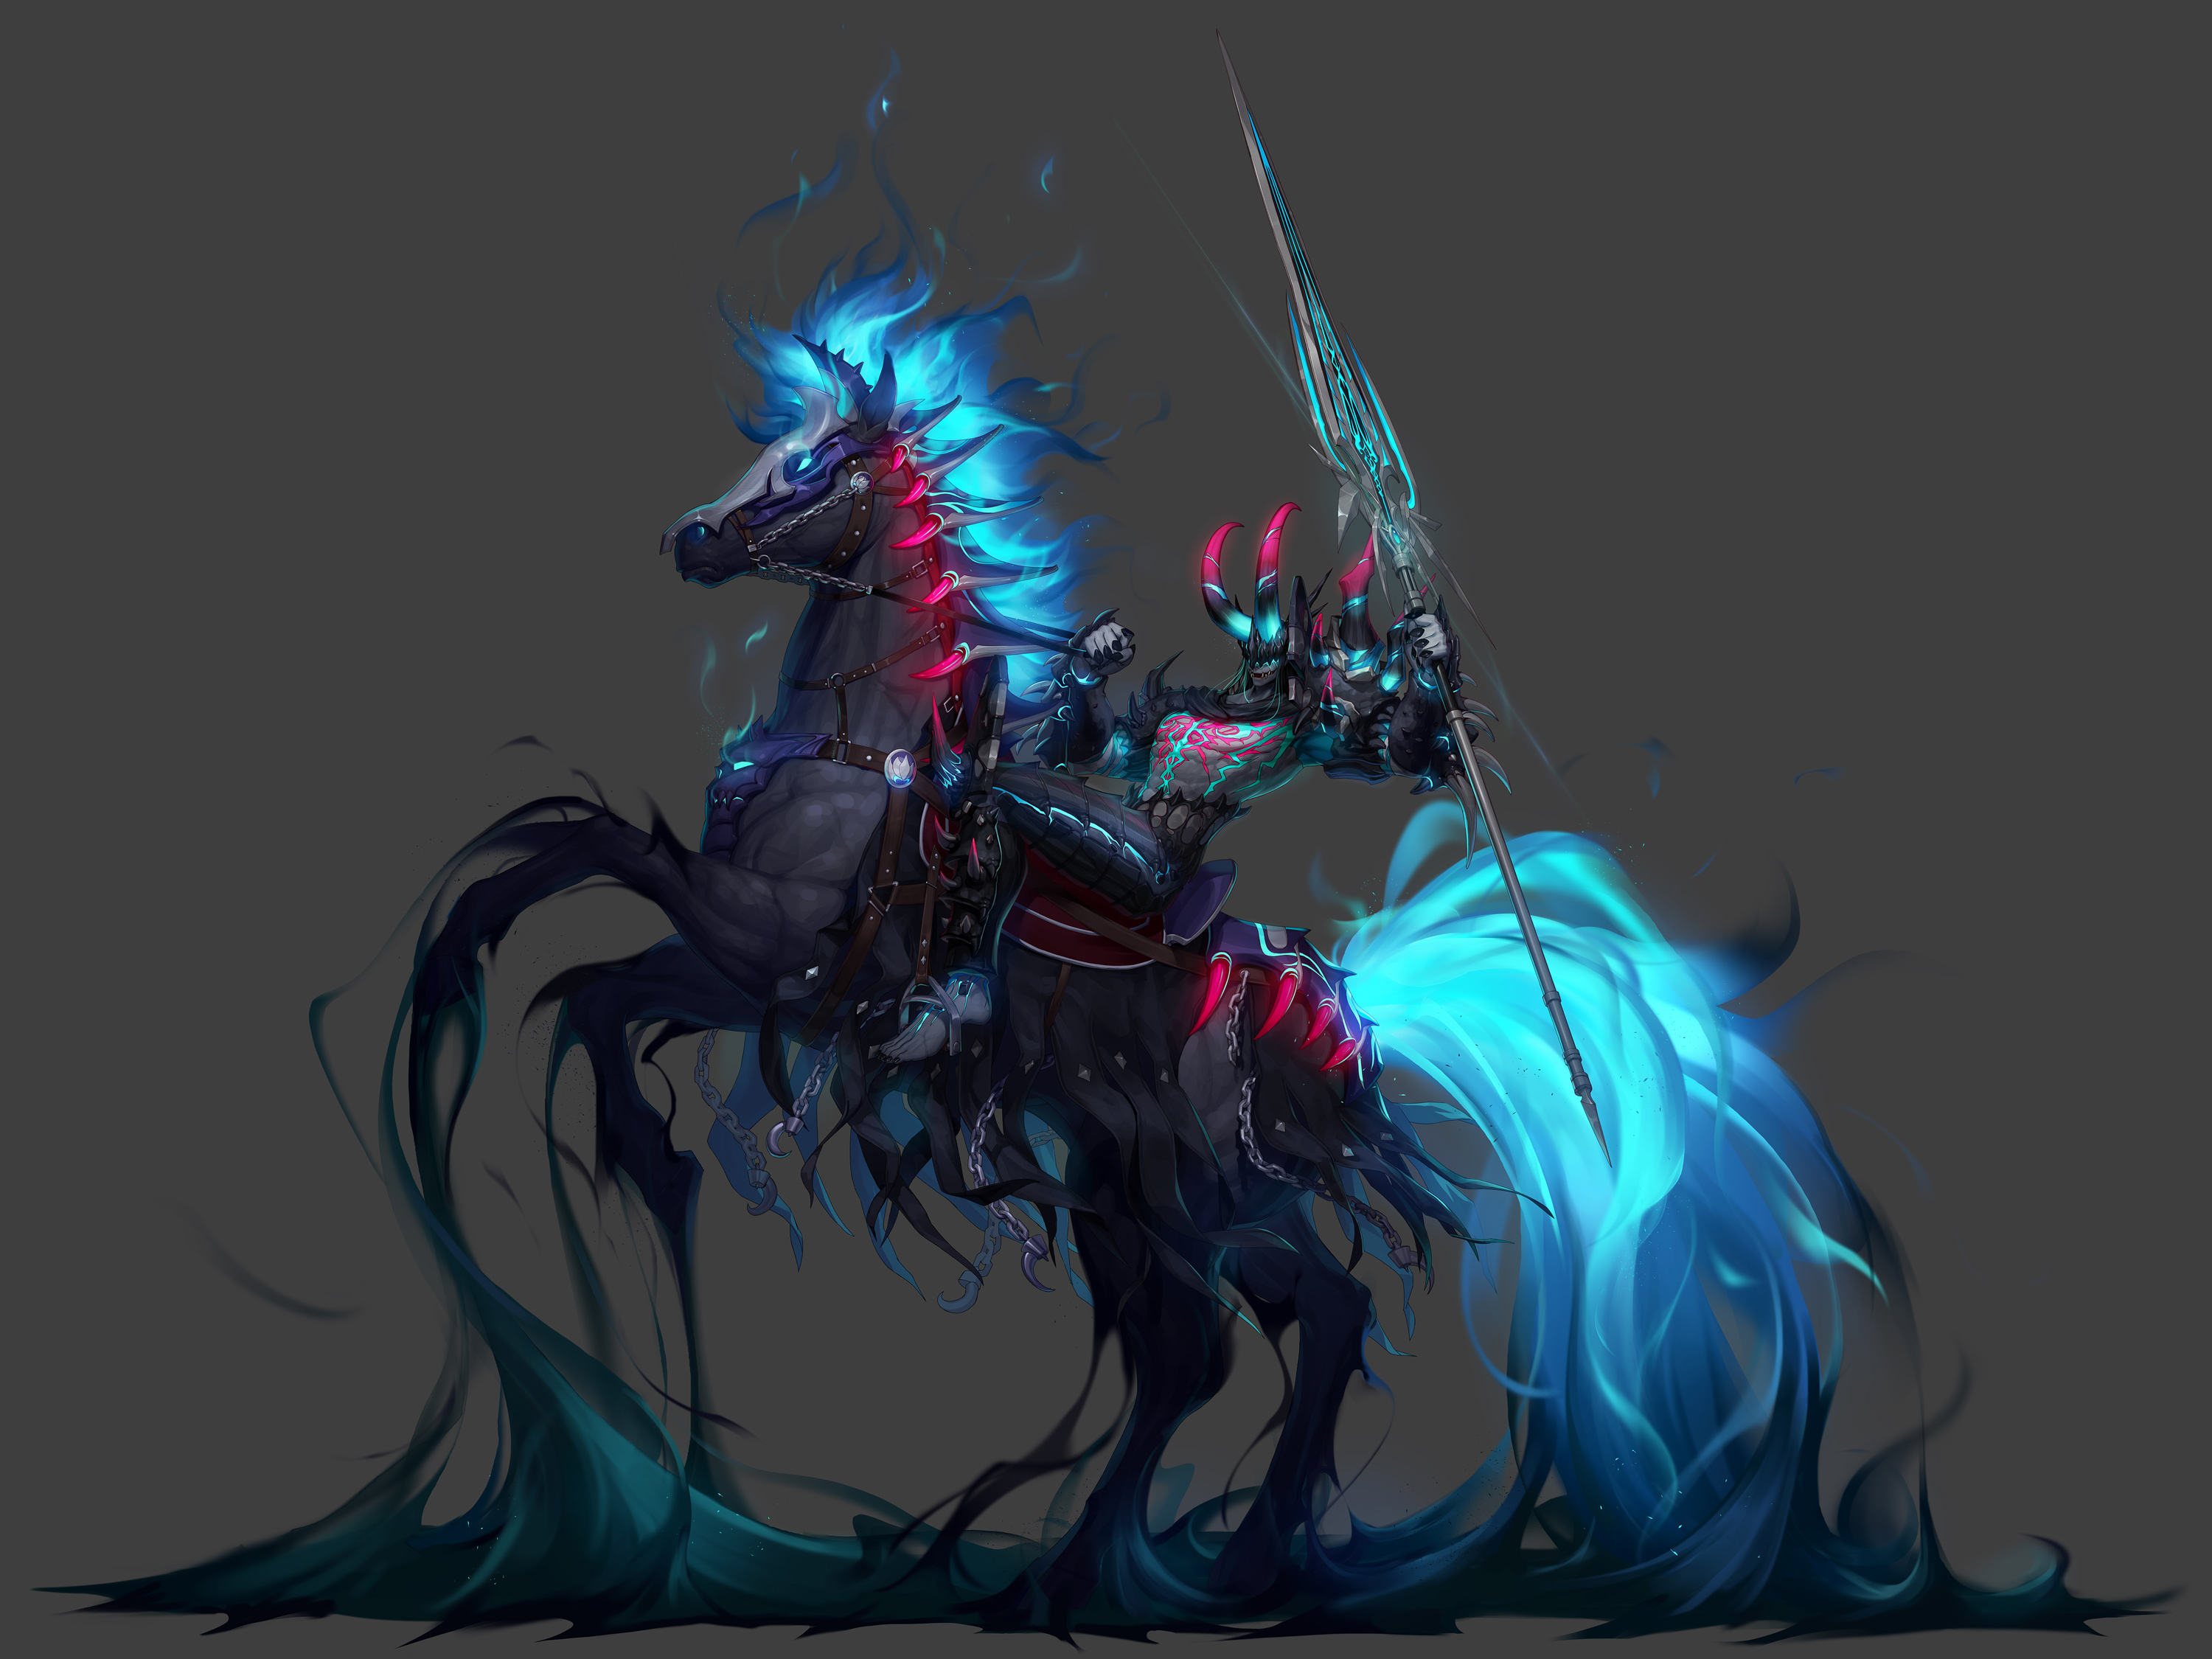
| + | * He'll make his third boss appearance in [[Ozma of Chaos Raid]] as [[Approaching Despairing Tiamat]]. | ||
| + | |||
| + | ===Move Set (Black Purgatory)=== | ||
| + | * '''Spear Sting:''' Tiamat targets and dashes forward to stab at someone with his spear. If the attack connects, he'll grab and slams them down. | ||
| + | |||
| + | * '''Spear Lunge:''' Twice in a row, Tiamat lunges at players to swing his spear in a wide arc at their location. | ||
| + | |||
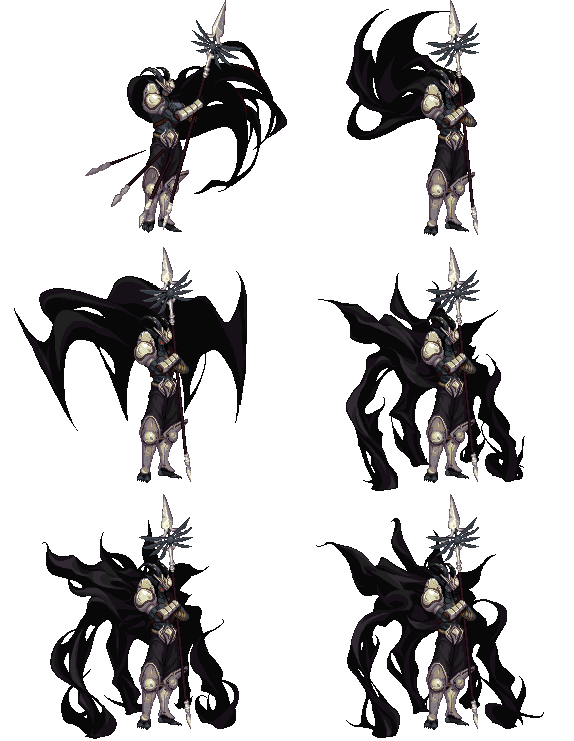
| + | * '''Cloak of Despair:''' A callback to his [[Dark Side]] pattern, he'll use his cloak that'll pierce the ground attempting to entangle anyone underneath at their position. Getting caught results in being encased in a cocoon which is escapable. | ||
| + | |||
| + | * '''Suction Orb:''' He'll create a energy orb with suction properties in front of him as it flies towards the edge of the map's wall, Tiamat follows that orb and cuts at it regardless if it anyone got caught in the attack or not. | ||
| + | |||
| + | * '''Ground Stab:''' Copying [[Avenger]]'s {{IconLink|Thunder Mine}}, Tiamat stabs the ground with his spear which shoots up rocks going forward. | ||
| + | |||
| + | * '''Spear Emission:''' Tiamat fires out three spear heads in a fork-like direction that comes back to him like a boomerang. | ||
| + | |||
| + | * '''Poison Circles:''' Tiamat will summon a series of poisonous circles that chases underneath players' feet that can not only form into medium or larger sized ones upon combining, but quickly drain their HP if they happen to step onto either one or more before they explode. | ||
| + | |||
| + | * '''<span style="color:red">Berserk</span>''' | ||
| + | ** '''Beginning of Despair:''' Tiamat summons Cocoons across the map and traps two party members inside one of each. The other two untrapped players are required to hit those cocoons that'll discover one of three specific colors: | ||
| + | ** '''<span style="color:red">Red</span>''' - Pattern fail | ||
| + | ** '''<span style="color:blue">Blue</span>''' - Objective | ||
| + | **'''<span style="color:green">Green</span>''' - Party member | ||
| + | ::The main goal is to destroy the blue colored Cocoons that are randomly located to cancel out this pattern and also break free trapped party members who are encased in green Cocoons. Avoid any red colored ones as destroying them can result in a instant-kill party wipe or the ''Let Despair devour you!'' timer gauge fills up. | ||
| + | |||
| + | * '''Sphere Absorption:''' Identical to [[Annihilator Nerbe]]'s ''Let there be light!'' pattern from Anton, Tiamat will bind everyone with his cloak as he appears in the middle section and summons four orbs from each room corner, sporting a different symbol on one each. To successfully clear this pattern, all party members who are marked with a specific symbol of their own must absorb the matching orb that approaches Tiamat in a total of three times while avoiding an damaging AoE circle that's around him. If done correctly, he'll enter his groggy time. | ||
| + | |||
| + | * '''Cocoon Crush:''' A different cocoon pattern in which they cannot be destroyed. For this pattern, all party members will need to coordinate with red lines that underneath them by drawing path for Tiamat to have him charge into those Cocoons before a timer gauge belows fills up. Once this is done, he'll follow the designated path destroying those Cocoons in the process, anything remaining results in a explosion. | ||
| + | |||
===Strategy=== | ===Strategy=== | ||
| + | * Like his Dark Knight allies, Tiamat's Black Purgatory battle can be seen as an updated version of his Otherverse fight, now wielding patterns that require a lot of coordiation due to their potential to kill party members. | ||
| + | |||
===Quotes=== | ===Quotes=== | ||
| + | '''Encounter''' | ||
| + | * "I'll guide you to the path of despair." (Encounter 1) | ||
| + | * "Worship the master of chaos." (Encounter 2) | ||
| + | * At the edge of despair, writhe in fear. (Intrusion Encounter) | ||
| + | |||
| + | '''Spear Sting''' | ||
| + | * "You're way too slow." (If he connects the attack) | ||
| + | |||
| + | '''Spear Lunge''' | ||
| + | * "How laughable!" | ||
| + | |||
| + | '''Suction Orb''' | ||
| + | * "There doesn't need to be a good reason for despair." (On cast) | ||
| + | * "Too slow!" | ||
| + | * "Die!" | ||
| + | |||
| + | '''Ground Stab:''' | ||
| + | * "Perish into nonexistance!" | ||
| + | |||
| + | '''Cloak of Despair''' | ||
| + | * "Come." (On cast) | ||
| + | * "I'll punish you." | ||
| + | |||
| + | '''Beginning of Despair:''' | ||
| + | * "Fall into the pit of despair!" (Pattern failure) | ||
| + | * Let despair devour you! (Tooltip) | ||
| + | |||
| + | '''Cocoon Crush:''' | ||
| + | * "There's nothing left but despair!" (On cast) | ||
| + | * I'll shatter you! (Tooltip) | ||
| + | |||
| + | '''Sphere Absorption''' | ||
| + | * "Are you afraid?" (Pattern cast) | ||
| − | == | + | '''Defeat''' |
| + | * "Grr...this isn't over!" | ||
| + | |||
| + | ==Rewards== | ||
| + | * {{Drops|Ore of Despair|dungeon=Cradle of Despair}} | ||
| + | * {{Drops|Saturated Ore of Despair|dungeon=Cradle of Despair}} | ||
| + | * Level 100 Epic Equipment | ||
== Appearances == | == Appearances == | ||
| Line 43: | Line 145: | ||
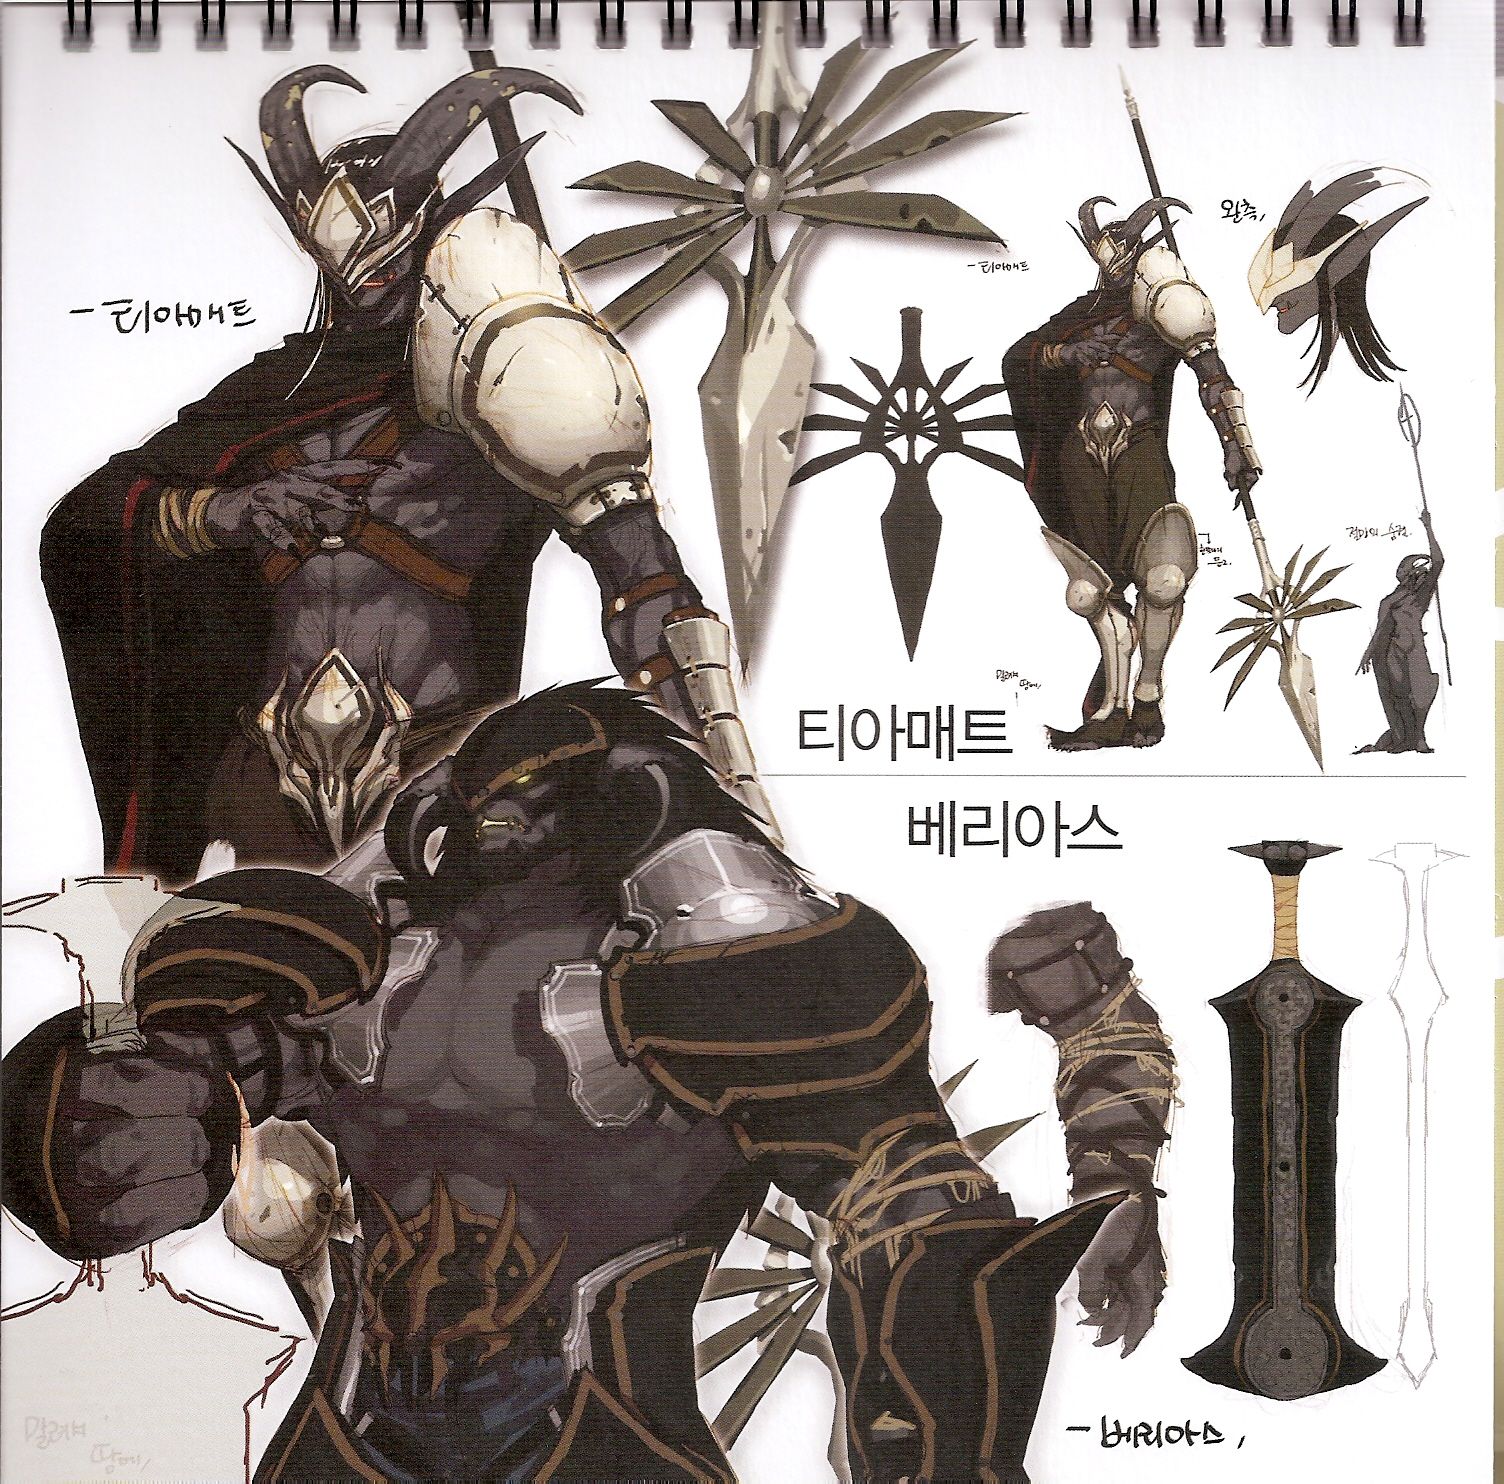
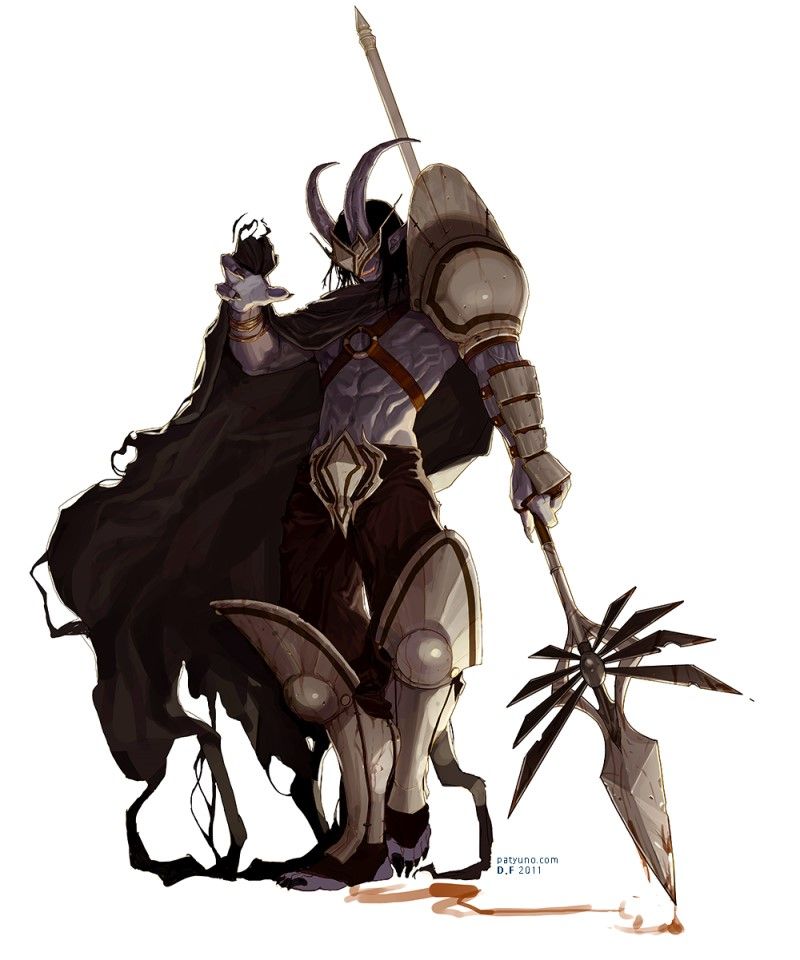
==Artwork== | ==Artwork== | ||
=== Gallery === | === Gallery === | ||
| + | [[File:Tiamat Berias Concept Art.jpg|Original Concept art|300px]] | ||
| + | [[File:Tiamat Concept Art.jpg|Tiamat Concept art|300px]] | ||
[[File:DespairingTiamat FullBody.jpeg|300px]] | [[File:DespairingTiamat FullBody.jpeg|300px]] | ||
| + | [[File:Ozma DespairingTiamatArt.jpeg |300px]] | ||
===Sprites=== | ===Sprites=== | ||
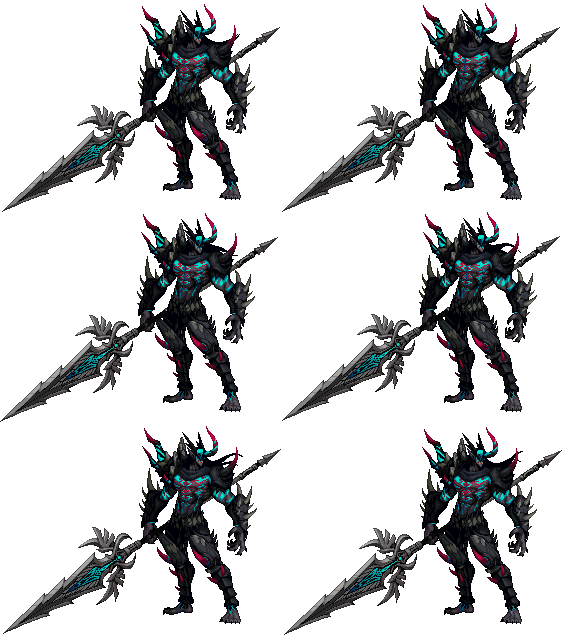
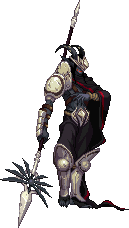
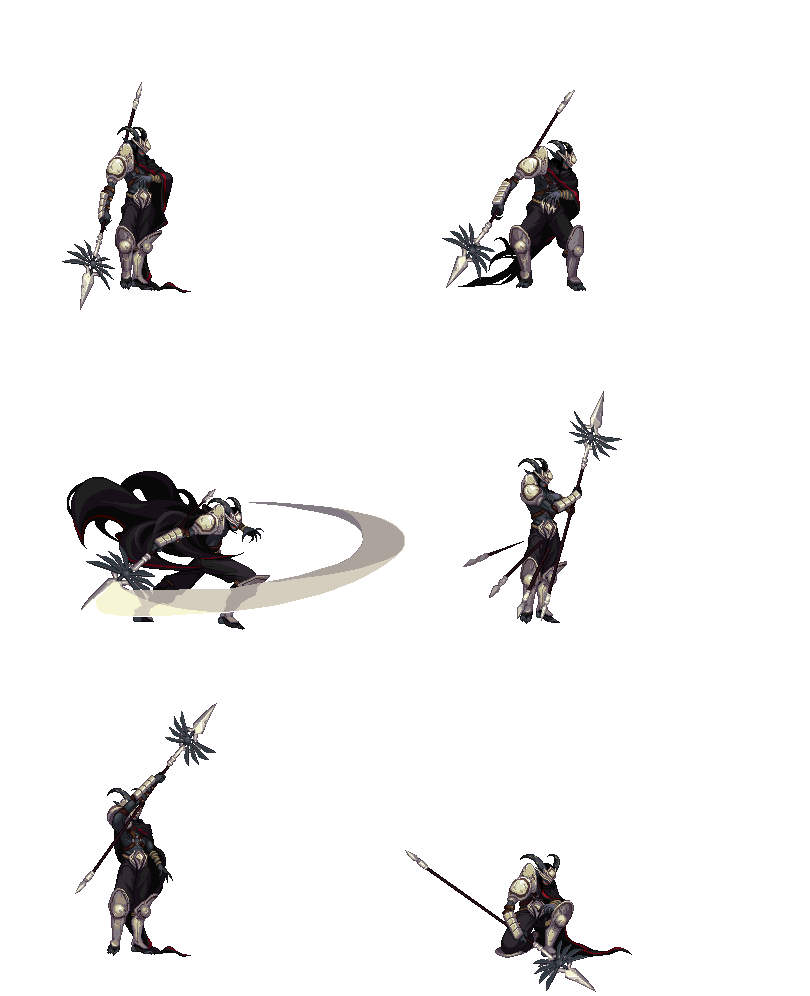
| + | '''Dark Side''' <br> | ||
| + | [[File:Original Tiamat Idle.png]] | ||
| + | [[File:Original Tiamat.gif]] | ||
| + | [[File:Original Tiamat 2.gif]] | ||
| + | |||
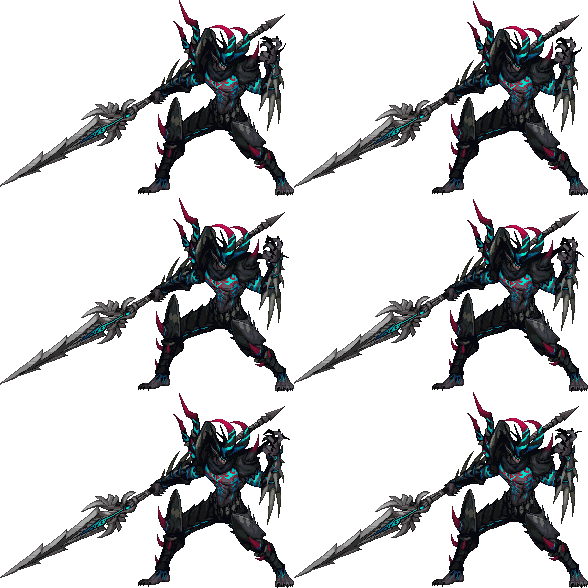
| + | '''Black Purgatory/Ozma Raid''' <br> | ||
[[File:TiamatofDespair.gif]] | [[File:TiamatofDespair.gif]] | ||
[[File:OzmaRaidTiamat.gif]] | [[File:OzmaRaidTiamat.gif]] | ||
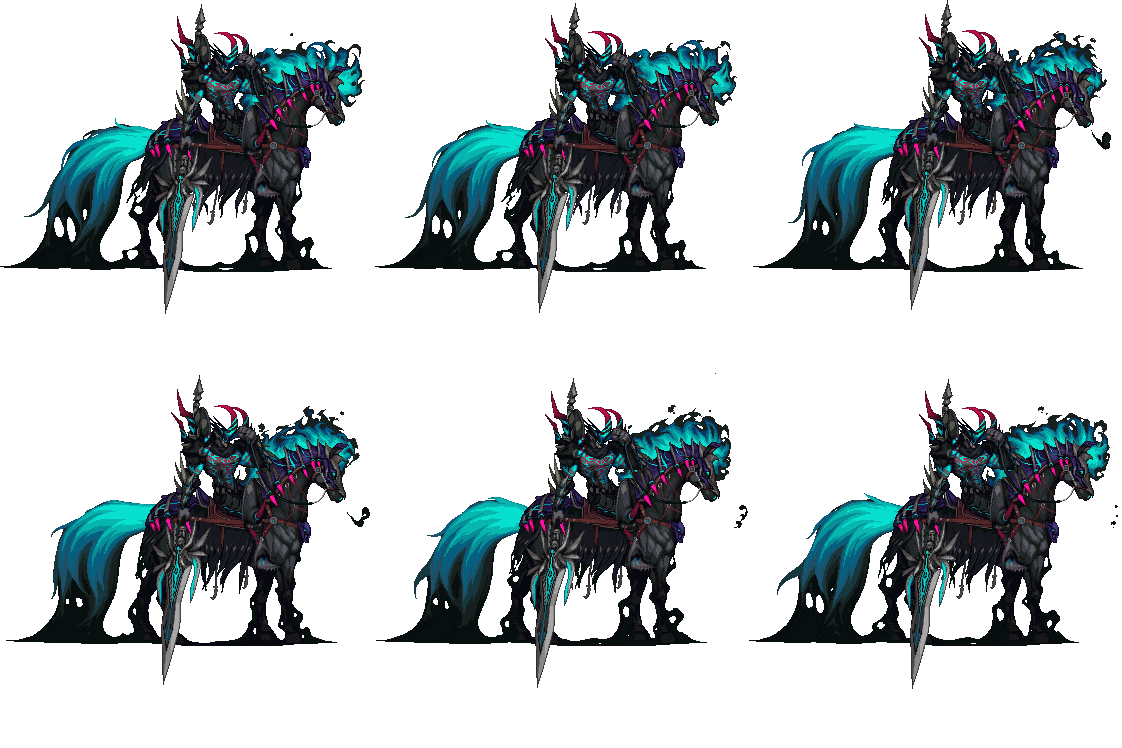
| + | [[File:OzmaRaid TiamatHorse.gif|250px]] | ||
| + | |||
| + | ===Media=== | ||
| + | '''Voice Lines:''' | ||
| + | <div class ="thumb"> | ||
| + | {{#ev:youtube|ucpLTCFSuLk|300}} | ||
==Trivia== | ==Trivia== | ||
| − | * Tiamat's name is derived from a primordial Babylonian Sea Goddess that's often depicted as a multi-headed Dragon which would be popularized in Dungeons & Dragons. | + | * [https://en.wikipedia.org/wiki/Tiamat Tiamat's] name is derived from a primordial Babylonian Sea Goddess that's often depicted as a multi-headed Dragon which would be popularized in Dungeons & Dragons. |
| + | * He is seen with one broken horn in his Black Purgatory artwork, this was caused by Teida's ancestor Wolfgang. | ||
| + | |||
| + | ==References== | ||
Latest revision as of 00:51, 22 August 2022

|
Seria says: "Nothing should be as mysterious as I am!"
Some info is missing, please help to provide it if you can. |
| Despairing Tiamat | |
|---|---|
| |
| Age | Unknown |
| Sex | Male |
| Race | Imposter |
| Affiliation | Black Order |
| Occupation | Dark Knight Trio |
| Alias | |
| Location | Black Purgatory - Destroyed Los Chest |
| Foreign Name(s) | N/A |
| Likeability | N/A |
Despairing Tiamat is one of Ozma's Three Dark Knights who wields the power of Despair and was sealed away in Dark Side during the events surrounding the Black Crusade against the Priest Order. He would be revived during the Black Crusade Resurgence in Season 6.
Contents
Lore
Black Purgatory Lore:
Dear Despair,
In his pitch-dark cocoon, he replayed in his head over and over again how his horn broke off. His sense of defeat, humiliation, contempt, and shame drove him to hide his power and bide his time for the day he could finally get his revenge.
Let me lend you however much strength Numerous pods of despair created during the Black Crusade. His cradle consisting of the cocoons enveloped him as warmly as Chaos, holding him, so he wouldn't forget his sense of revenge, no matter how much time passed.
I have left in me.
Finally, the day had come. Listening to the breathy voices of his followers, he cut open his cocoon. The familiar sight of enemies and the earth welcomed him.
"All of you are... I see. AHAHAHA!"
Watching the descendants of his enemies standing in front of him,
he hefted his spear, getting ready to spread more despair.
[1]
History
As an Enemy
Appearances
- Cradle of Despair (Boss)
Otherverse
- Tiamat would originally make his boss debut inside the Interdimensional Rift's Dark Side dungeon, and later seen as a Named Monster encounter in Time Gate's Black Crusade before they were completely removed.
Black Purgatory
- He makes his return in Black Purgatory's Cradle of Despair.
Ozma Raid
- He'll make his third boss appearance in Ozma of Chaos Raid as Approaching Despairing Tiamat.
Move Set (Black Purgatory)
- Spear Sting: Tiamat targets and dashes forward to stab at someone with his spear. If the attack connects, he'll grab and slams them down.
- Spear Lunge: Twice in a row, Tiamat lunges at players to swing his spear in a wide arc at their location.
- Cloak of Despair: A callback to his Dark Side pattern, he'll use his cloak that'll pierce the ground attempting to entangle anyone underneath at their position. Getting caught results in being encased in a cocoon which is escapable.
- Suction Orb: He'll create a energy orb with suction properties in front of him as it flies towards the edge of the map's wall, Tiamat follows that orb and cuts at it regardless if it anyone got caught in the attack or not.
- Ground Stab: Copying Avenger's
 Thunder Mine, Tiamat stabs the ground with his spear which shoots up rocks going forward.
- Spear Emission: Tiamat fires out three spear heads in a fork-like direction that comes back to him like a boomerang.
- Poison Circles: Tiamat will summon a series of poisonous circles that chases underneath players' feet that can not only form into medium or larger sized ones upon combining, but quickly drain their HP if they happen to step onto either one or more before they explode.
- Berserk
- Beginning of Despair: Tiamat summons Cocoons across the map and traps two party members inside one of each. The other two untrapped players are required to hit those cocoons that'll discover one of three specific colors:
- Red - Pattern fail
- Blue - Objective
- Green - Party member
- The main goal is to destroy the blue colored Cocoons that are randomly located to cancel out this pattern and also break free trapped party members who are encased in green Cocoons. Avoid any red colored ones as destroying them can result in a instant-kill party wipe or the Let Despair devour you! timer gauge fills up.
- Sphere Absorption: Identical to Annihilator Nerbe's Let there be light! pattern from Anton, Tiamat will bind everyone with his cloak as he appears in the middle section and summons four orbs from each room corner, sporting a different symbol on one each. To successfully clear this pattern, all party members who are marked with a specific symbol of their own must absorb the matching orb that approaches Tiamat in a total of three times while avoiding an damaging AoE circle that's around him. If done correctly, he'll enter his groggy time.
- Cocoon Crush: A different cocoon pattern in which they cannot be destroyed. For this pattern, all party members will need to coordinate with red lines that underneath them by drawing path for Tiamat to have him charge into those Cocoons before a timer gauge belows fills up. Once this is done, he'll follow the designated path destroying those Cocoons in the process, anything remaining results in a explosion.
Strategy
- Like his Dark Knight allies, Tiamat's Black Purgatory battle can be seen as an updated version of his Otherverse fight, now wielding patterns that require a lot of coordiation due to their potential to kill party members.
Quotes
Encounter
- "I'll guide you to the path of despair." (Encounter 1)
- "Worship the master of chaos." (Encounter 2)
- At the edge of despair, writhe in fear. (Intrusion Encounter)
Spear Sting
- "You're way too slow." (If he connects the attack)
Spear Lunge
- "How laughable!"
Suction Orb
- "There doesn't need to be a good reason for despair." (On cast)
- "Too slow!"
- "Die!"
Ground Stab:
- "Perish into nonexistance!"
Cloak of Despair
- "Come." (On cast)
- "I'll punish you."
Beginning of Despair:
- "Fall into the pit of despair!" (Pattern failure)
- Let despair devour you! (Tooltip)
Cocoon Crush:
- "There's nothing left but despair!" (On cast)
- I'll shatter you! (Tooltip)
Sphere Absorption
- "Are you afraid?" (Pattern cast)
Defeat
- "Grr...this isn't over!"
Rewards
 Ore of Despair in Cradle of Despair (all difficulties)
 Saturated Ore of Despair in Cradle of Despair (all difficulties)
- Level 100 Epic Equipment
Appearances
- Cradle of Despair (Boss)
Artwork
Gallery
Sprites
Media
Voice Lines:
Trivia
- Tiamat's name is derived from a primordial Babylonian Sea Goddess that's often depicted as a multi-headed Dragon which would be popularized in Dungeons & Dragons.
- He is seen with one broken horn in his Black Purgatory artwork, this was caused by Teida's ancestor Wolfgang.

