Welcome to the DFO World Wiki. With many major updates since the release of DFO, many items are missing. Visit Item Database Project to learn more.
Please remember to click "show preview" before saving the page.
Thanks for the updated logo snafuPop!
Death Dragon Spirazzi

|
Seria says: "Nothing should be as mysterious as I am!"
Some info is missing, please help to provide it if you can. |
| Death Dragon Spirazzi | |
|---|---|

| |
| Age | Unknown |
| Sex | Male |
| Race | Dragon |
| Affiliation | Bakal, Great Dragon Trio |
| Occupation | N/A |
| Alias | N/A |
| Location | Aphelia (Original History) Death Dragon's Soul Palace (Distorted History) |
| Foreign Name(s) | N/A |
| Likeability | N/A |
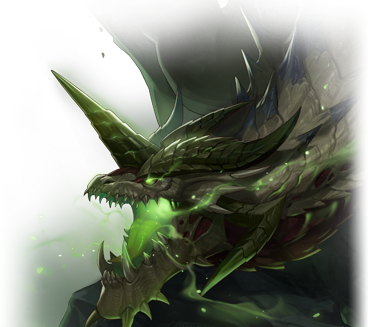
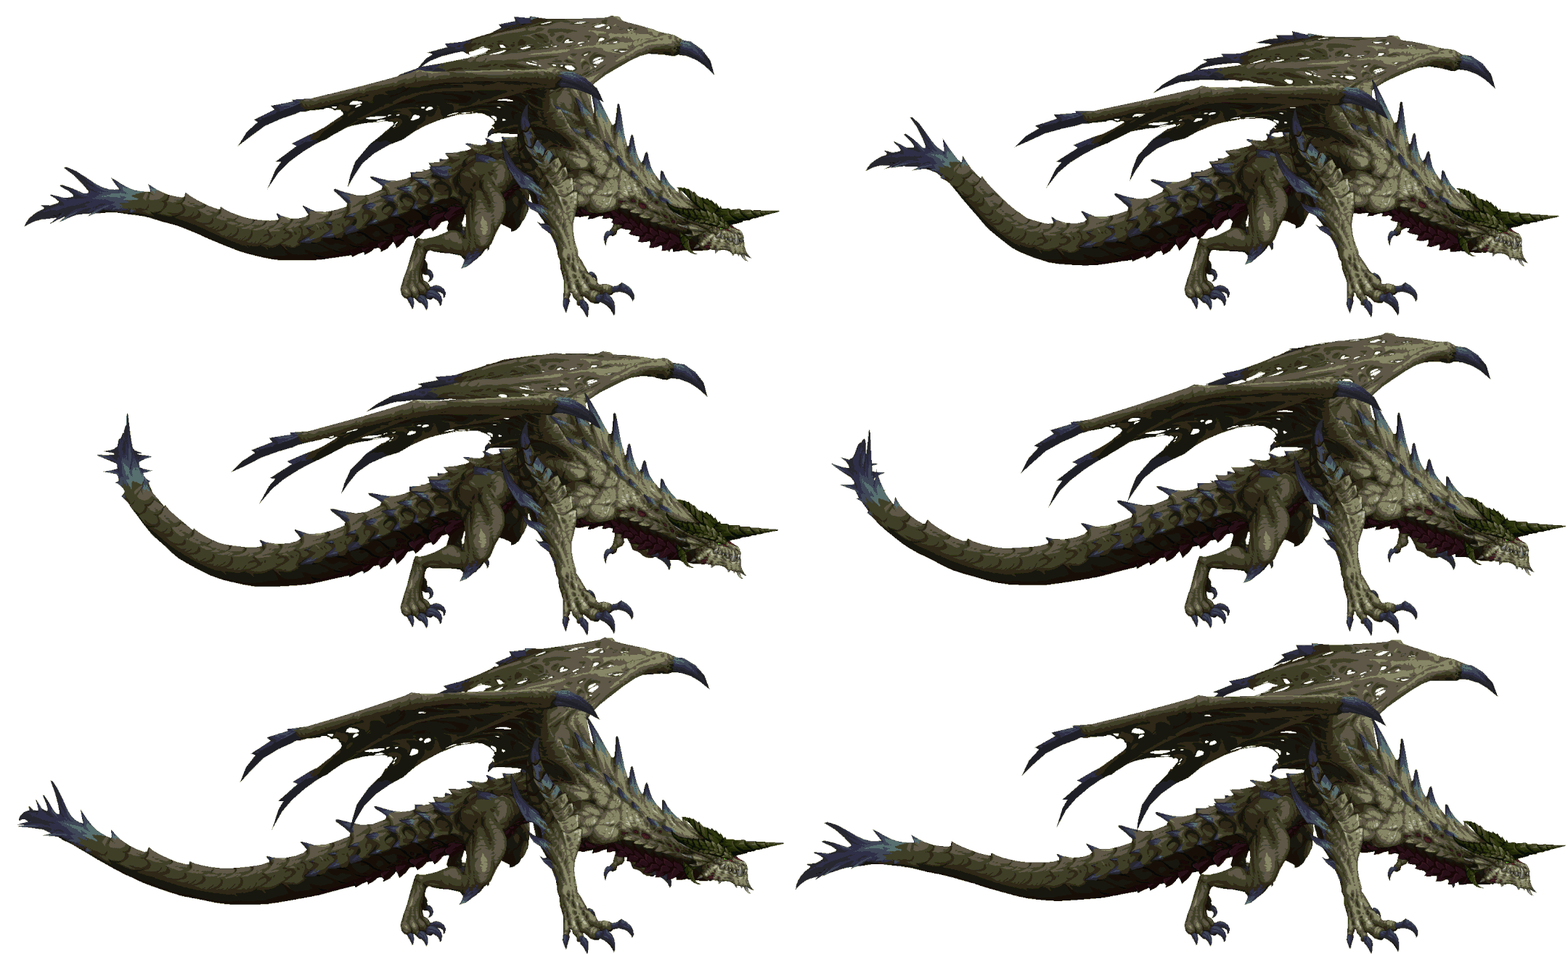
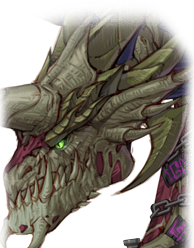
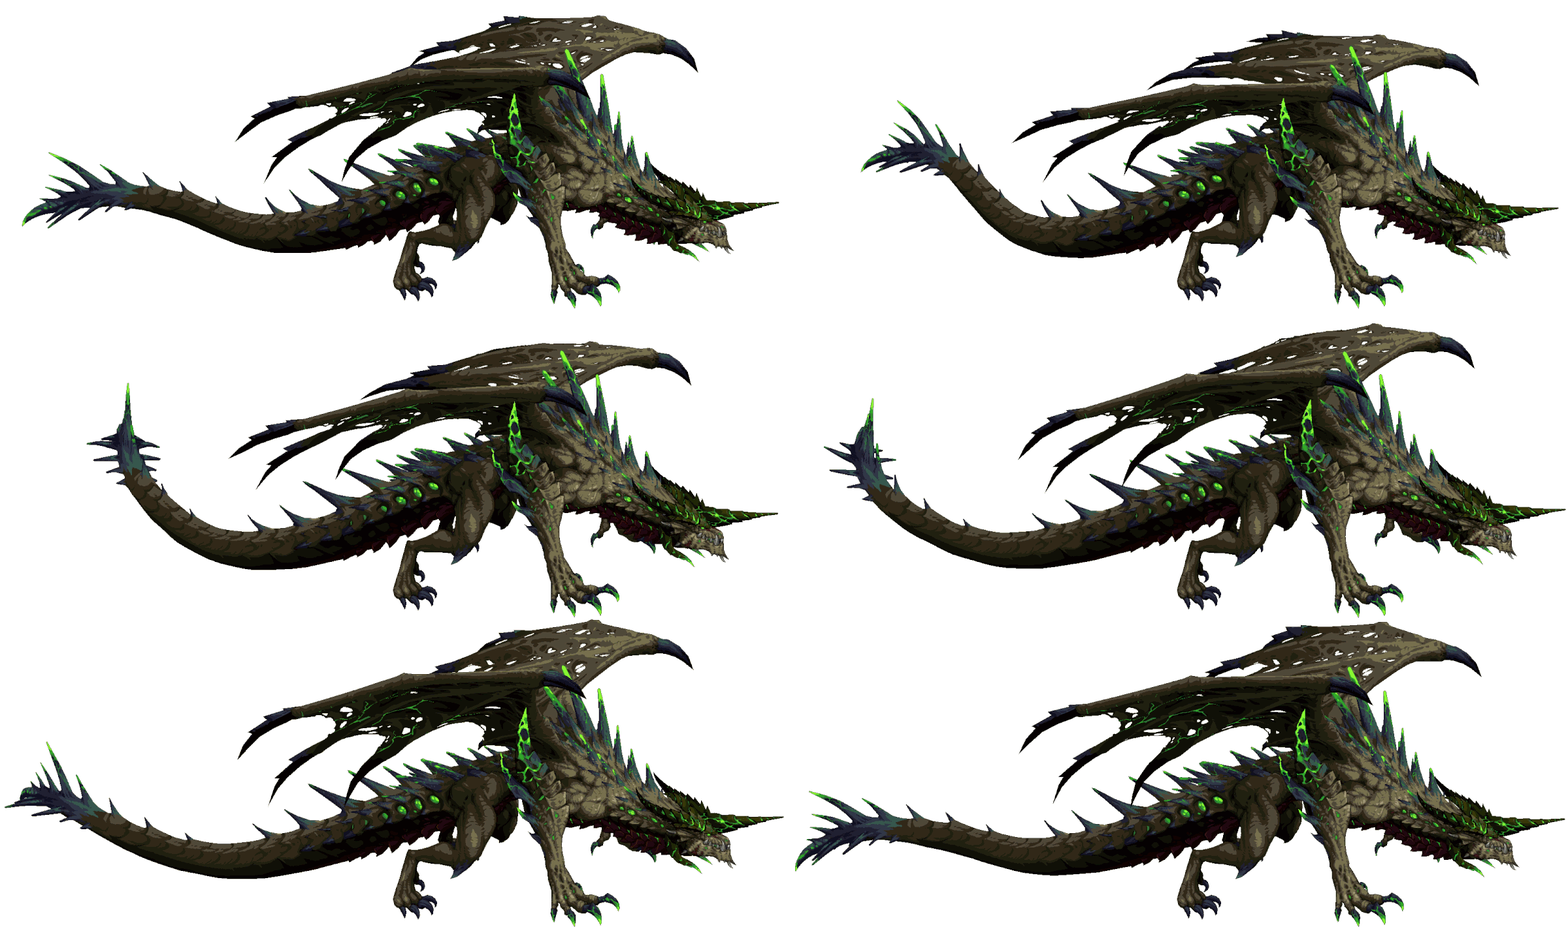
Death Dragon Spirazzi (Korean: 사룡 스피라찌) is the second of Three Great Dragons that was sent down to the Arad Continent by Apostle Bakal, only to reside at the Aphelia Mountain in Fennes Kingdom, home of the Dark Elves and terrorized them for several years, yet his immortality prevented their various attempts at defeating him.
Spirazzi would originally serve as a boss for different dungeons, with one being his decapitated head inside The Catacombs, a younger form at Time Gate's Naissance, the unavailable Seal of the Death Dragon during the Metastasis era at Castaway Cave, and currently Death Dragon's Soul Palace during The Machine Revolution.
Contents
Lore
Character Biography:
(Official Localization)
Death Dragon Spirazzi
Male. Age unknown.
The second of the three dragon children of Bakal that was sent down to the Arad continent. It landed on Aphelia Mountain in Fennes, the kingdom of the dark elves.
It terrorized the dark elves for a long time, and their numerous attempts at subjugating it failed every time because of its immortality.
After Eread the Sage King officially declared war against Death Dragon Spirazzi, four dark elf mages successfully defeated it and sealed pieces of its body in the depths of Aphelia Mountain.
It is still confined deep inside Aphelia Mountain, dreaming of the day it can break out of its seal and get its revenge on the dark elves.— Source: DFU[1]
History
As an Enemy
- Type


- Family
- Dragon
Move Set (Total War)
Phase 1 ~ 2
- Contaminated Zone: One of Spirazzi's core patterns and similar to Ash Core's Flame Zone, each time he does any of his attack patterns, he'll spread out various amounts of green poison that not only contaminates the map, but inflicts a
 Poison (Status) when stepping into one.
- Blue Zombies → Blue Poison: (Blue poison is seeping in... | Outgoing Damage +20% | Movement Speed +20%)
- Mobs that resemble
 Forest Zombies covered in a blue substance, will occasionally spawn throughout the map following players. Either through basic X-Strings, Skills or any of Spirazzi's attacks, killing one will melt into a blue puddle which unlike the Death Dragon's green poison ones, can offer a temporary buff for 10 seconds when stepping onto and absorbing it, similar to Hismar's scales, but this one instead shows off a blue tint on the screen, and allows players to clear out those Contaminated Zones which not only extends the buff duration, but offers HP restoration in return. When the notice of blue poison is leaving the player who absorbed a puddle, that buff wears off and can be replenished at any time as long as Blue Zombies continue to roam around.
- Corroding Breath: From either the left, right or upper middle sections, he'll spew out a wave of poisonous breath from his mouth.
- Green Thorns: Spirazzi can protrude the ground with the thorns that comes out of his body to attacks players from beneath.
- Poison Release ⇾ Miasma Eruption: When Spirazzi's HP prepares to enter Phase 2, all the Contaminated Zones vanishes, as he'll roar to summon hordes of green zombies in the form of
 Phantasmal Shamblers to chase after everyone, while he moves over to the map's background to attack players. In order to clear out this pattern successfully, hit those zombies with basic X-Strings that only pushes them back, into a red zone where Spirazzi's attacking, as it results in transforming into poison orbs.
- All party members must grab every single orb that's dropped on the floor before a Poison Release timer gauge empties out. Collecting all the orbs successfully has Spirazzi flying back and slam down into the middle area to prepare for his Phase 2 battle, while failing to meet those requirements causes him launching out an un-dodgeable fatal attack that may result towards a party wipe.
- Die Slowly...: He'll charge up for a few seconds to spread out a volley of poison across the map, then body presses the floor to create more of them.
- Writhe in Pain!: Spirazzi begins unleashing a series of room-wide miasma waves to attack players from top to bottom → then left to right in a narrow range.
- Annihilation: Following up from Write in Pain!, He'll perform two body presses in the middle section, with the second one creating Green Thorns below, then prepares charging up for a AoE attack which can be preventable by repeatedly attacking him, which causes the red circle underneath Spirazzi to shrink down.
Move Set (Bakal Raid)
Phase 1 ~ 2
- Vengeful Poison: Only in Bakal Raid, Spirazzi gains this ability gauge under his HP that only activates during Poison Discharge where, if any Green Orbs weren't picked up before the pattern ended, he'll absorb them to intensify his
 Poison (Status) damage done towards players.
Berserk
- Green Orbs ⇾ Poison Discharge: Similar to his Total War pattern, collecting Green Orbs from killing the
 Phantasmal Shamblers during Spirazzi's Bakal Raid battle is far more crucial in either phase. Instead of one room, all party members are required to traverse through the out eight rooms to collect a total of 25 orbs quickly as possible that either spawn on the ground or defeated zombies before the timer ends. While this is going, Spirazzi will occasionally spew out a wave of Poisonous Miasma at certain intervals to disrupt players. Depending on how many orbs were collected, parties can receive a potential 100% 40-second Bonus Damage buff against Spirazzi.
- Pending Death: A twist on Green Orbs ⇾ Poison Discharge where everyone is placed into a Pending Death status with their screen turning gray. During this suspended state of death, players cannot use consumables and their HP (or MP for Mana Shield) decreases, in turn they'll receive a buff to increase their speed and attack, plus ignore incoming hits from enemies. To return to a normal state, there are four pulsating Red Orbs throughout the eight rooms that one of each player can absorb.
Notes & Strategy
Elemental Resist/Weakness
| 0 | 20 | 0 | 20 |
Abnormal Status Resist/Weakness
| 0% | -15% | -15% | 0% | 0% | 0% | -15% | 0% | 0% | -15% | -15% | 0% |
Quotes
Encounter
- "Did you come to meet your own death?"/"You must be suicidal." (Total War/Bakal Raid Encounter)
- "Insects trapped by death!"/"You insignificant mortal creatures!" (After landing)
Corroding Breath
- "Melt, all of you!"
- "I'll turn you into puddles!"
Poison Release ⇾ Miasma Eruption / Pending Death
- "Go. Go bring their lives to me!"
- "Do you really wish to die? Then, I'll grant your wish!
- "I'll give you one last chance."
Poison Discharge
- "Only death awaits you at the end..." (Orb Absorption)
- "Resistance is futile!" (Activated Vengeful Poison)
Phase 2
- "You're only wasting your time! (Entering Total War Phase 2)
Defeat
- "My deathly energy will continue to assist my king." (Bakal Raid defeat)
Appearances
- Seal of the Death Dragon (Boss)
- Death Dragon's Soul Palace (Boss)
- The Machine Revolution: Total War (Boss)
- The Machine Revolution: Bakal Raid (Boss)
Drops
 Death Dragon's Bone Staff in Seal of the Death Dragon (all difficulties)
 Death Dragon's Dual Blades in Seal of the Death Dragon (all difficulties)
 Death Dragon's Horn Tachi in Seal of the Death Dragon (all difficulties)
 Sirkarion Auto Gun in Seal of the Death Dragon (all difficulties)
 Sirkarion Spike in Seal of the Death Dragon (all difficulties)


