Welcome to the DFO World Wiki. With many major updates since the release of DFO, many items are missing. Visit Item Database Project to learn more.
Please remember to click "show preview" before saving the page.
Thanks for the updated logo snafuPop!
Difference between revisions of "The Machine Revolution: Bakal Raid"
NoirGraves (talk | contribs) m (→Bakal Raid Clear Rewards) |
NoirGraves (talk | contribs) |
||
| Line 215: | Line 215: | ||
==Bakal Raid Clear Rewards== | ==Bakal Raid Clear Rewards== | ||
'''All three parties will receive the following rewards via Card Flips if they have at least defeated three or more bosses:'''<br> | '''All three parties will receive the following rewards via Card Flips if they have at least defeated three or more bosses:'''<br> | ||
| − | |||
*{{HoverTextBox|Link={{Item|Cruel King of Dragons' Seal}}|HoverText= 197 <br> (62 Personal Flip, 135 Raid Group)}} | *{{HoverTextBox|Link={{Item|Cruel King of Dragons' Seal}}|HoverText= 197 <br> (62 Personal Flip, 135 Raid Group)}} | ||
*{{HoverTextBox|Link={{Item|Burning Cruel King of Dragons' Seal}}|HoverText= 31 each}} | *{{HoverTextBox|Link={{Item|Burning Cruel King of Dragons' Seal}}|HoverText= 31 each}} | ||
| Line 224: | Line 223: | ||
*{{HoverTextBox|Link={{Item|Flawless Golden Beryl}}|HoverText= 400–560 each}} | *{{HoverTextBox|Link={{Item|Flawless Golden Beryl}}|HoverText= 400–560 each}} | ||
*{{HoverTextBox|Link={{Item|Warped Dimension Cube}}|HoverText= 1–3 each (Untradable or Account-bound)}} | *{{HoverTextBox|Link={{Item|Warped Dimension Cube}}|HoverText= 1–3 each (Untradable or Account-bound)}} | ||
| − | |||
| − | |||
| − | |||
*{{HoverTextBox|Link={{Item|Fiery Breath Jewel}}|HoverText = 1 each}} | *{{HoverTextBox|Link={{Item|Fiery Breath Jewel}}|HoverText = 1 each}} | ||
| Line 259: | Line 255: | ||
* All Great Dragons and Bakal have increased health and adjusted attack patterns. | * All Great Dragons and Bakal have increased health and adjusted attack patterns. | ||
| − | ==Tales Exchange System ( | + | ==Tales Exchange System (Formerly)== |
| − | + | As of the Forest of Awakening Patch, {{Item|Tales of Bravery - The Machine Revoluton}} & {{Item|Conqueror's Token - The Machine Revoluton}} have been completely removed from the Global Client, but the Tales Exchange will still remain through various NPCs. | |
| − | |||
| − | |||
| − | |||
Revision as of 07:09, 3 December 2024

|
Seria says: "Nothing should be as mysterious as I am!"
Some info is missing, please help to provide it if you can. |
| The Machine Revolution: Bakal Raid | |
|---|---|
| |
| Location | Empyrean - Sky's Wish Gate |
| Min. Level | 110 |
| Level | 110 |
| Monster Level | 140 |
| End Boss | |
Contents
Raid Rules & Details
| Level Required | Normal Mode - Hard Mode |
Fatigue Points | Raid Entry Material | Main Item Option Levels |
|---|---|---|---|---|
| 110 | 40,047 45,142 |
0 | 1 |
70 ~ 75 |
 Inherited Flame's Will Boxes can be purchased at the Raid Shop for free if under the Neo Premium Contract Plus effects, or 50
  Golden Beryls.
- Availability: Opened on Wendesday, Thursday, Friday and weekends (Saturday - Sunday; It can be entered and cleared once a week. Since both Bakal Raid and Total War shares the same Rewards/Weekly Entry Count, clearing Bakal locks you out of entering Total War until Tuesday at 9:00 UTC.
- Quest Needed: Clear [A Very Small Difference], and accumulate the required Adventurer Fame to gain access to the Raid channel.
- Player Amount: 12 Players; three separate parties consisting of four players.
- Maximum Time Limit: 1 Hour and 48 Minutes. (68:40)
- Area Buff: "Empyrean's Will".
- Area Debuff: "Cruel King of Dragons' Supression": Stun/Poison/Freeze/Petrify/Sleep Tolerances -30%. (In Dungeon only)
Restrictions
- Losing or retreating from a battle, places a recovery time penalty on whichever party does either condition and cannot enter for a while until the timer ends. Parties who battled Bakal on the other hand, wields a 10-minute limit when fighting, but places an Encroachment penalty of 480 seconds (8 minutes) afterward.
- Your skill cooldowns remain intact if you die and resurrect.
- All three parties have 5
 Life Tokens, and a 10 consumable usage limit, these can be increased through either Party or Commander Buffs.
 - Like with many Raid-exclusive consumables, only 5
 Standard-Issue First Aid Kits &
  Portable OP Packs can be carried on a character, and does expire on the weekly Tuesday reset. (9:00 UTC)
 - If the Dragon King's Conflagration Gauge reaches 100% (8000 Normal | 7000 Hard), the run is considered a failure, and you'll retrieve your
 Inherited Flame's Will back through the mailbox.
Bakal Raid Normal Mode
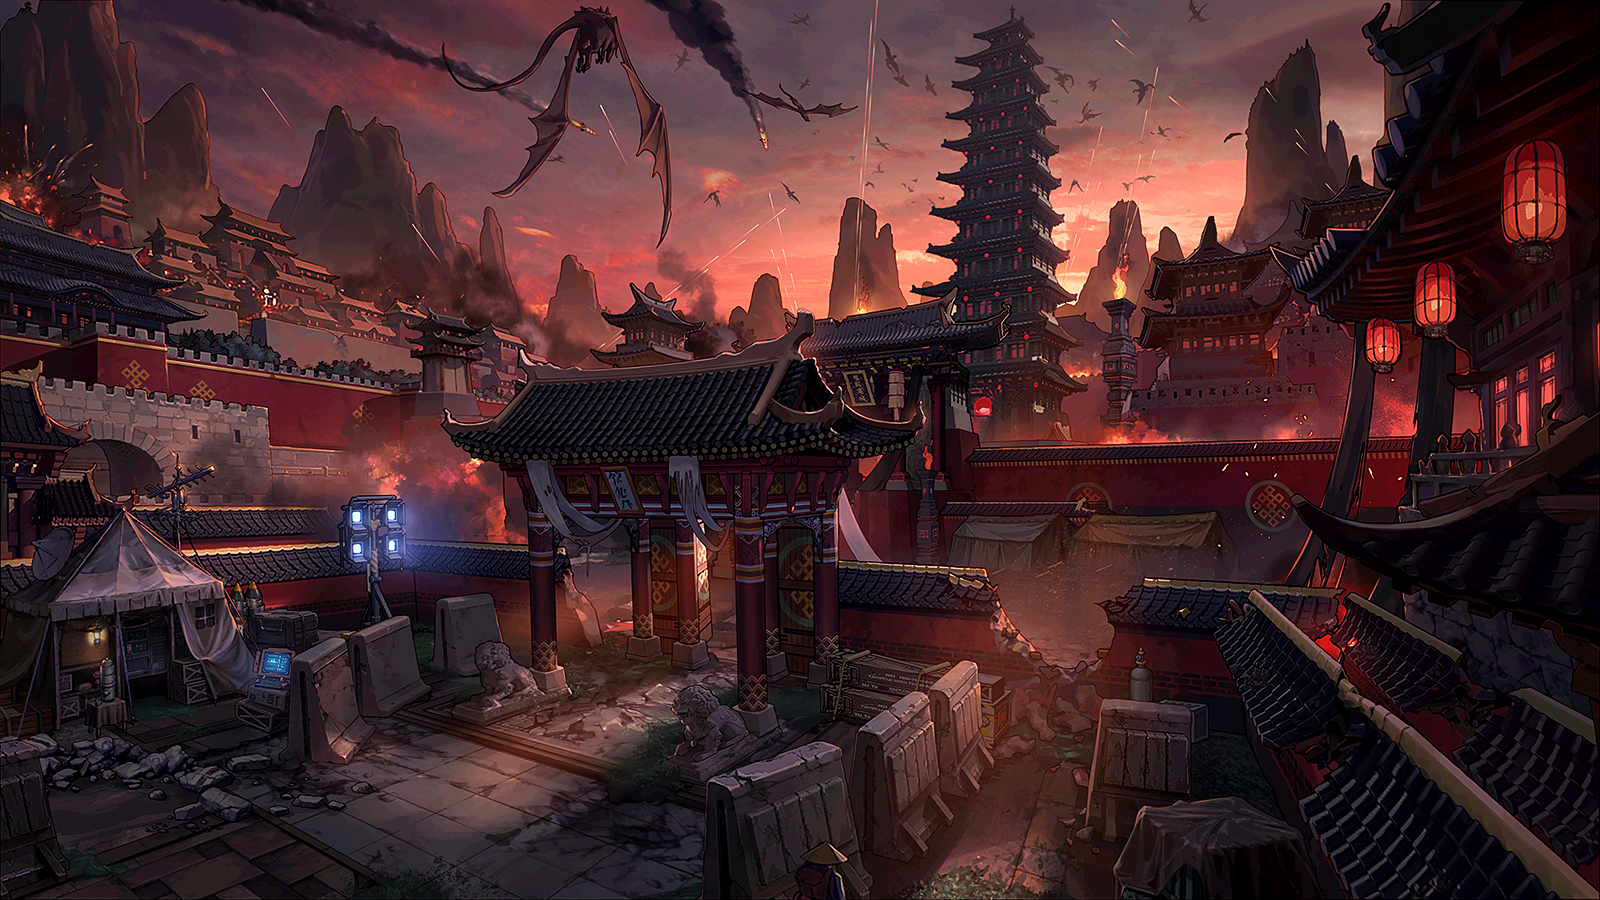
Released in April 2023's Season 7 - Act.05 Patch, The Machine Revolution: Bakal Raid is the overall, seventh raid in Dungeon Fighter Online that is heavily focused around the Adventurer, Empyrean Allied Forces, and Eternal Flame facing off against Bakal during his centuries long tyrannical reign over Empyrean. Unlike previous Apostle-themed raids which has the standard two phase formats, Bakal Raid only contains a single phase that's identical to Fiend War's layout, albeit on a higher scale of difficulty that requires a heavy amount of coordination and teamwork from all three parties.
A single player can create a Raid Group by speaking to Commander Irine while in the Raid Channel. The Raid leader is also able to organize their raid's parties and are responsible for coordinating their parties' objectives. Once everything is fully prepared, the leader can initiate the raid by speaking to Irine again, when every member has fulfilled the entrance requirements.
Although defeating Bakal is the main objective to succeeding, three portions of his HP bar (55%, 30%, and 10%) are locked out temporarily when confronting him. In order to free up those remaining bars, the Great Dragon Trio must be awakened first and defeated within their respective Palace Zones, which are mandatory keys to continuing fighting Bakal into his second phase.
Party Composition
Like with Prey-Isys or Ozma Raid, the amount of participants for Bakal Raid is 12 which are comprised of Red, Yellow & Green parties. There is no specific in-game designation for who belongs in which party, but the traditional player convention is to make the red party the strongest, followed by yellow, and then green party. As with the standard raid structures, It is recommended that every party contains:
The 3 parties typically have different expected responsibilities, but no party is locked out of any particular dungeon, so this is up to the raid leader's discretion.
Battlefield Progression & Dungeons
For the entire raid's "home base" of operations is also located within Sky's Wish Gate's entrance, much like with Total War's environment, albeit - much different from its toned-down counterpart. Sky's Wish Gate is split into a total of 16 dungeons areas on the map that's broken up into various different zones and routes alike, where all parties are able to traverse through with ease, but will always remain in-dungeon mode until retreating. The middle route is the Cruel King of Dragons' Road, that goes directly into Cruel King of Dragons' Main Hall where Bakal's Palace is located, housing the Dragon King himself. Party leaders also have the ability to teleport their team towards other bases through the usage of a "Flughafen".
Hismar's territory is located around the lower route's Dragon Claw Entrance Operation Base, this leads into Prison of Mortal Combat → Ruin's Flower Garden → Beserk Dragon's Destroyed Palace.
Spirazzi's territory is located around the upper route's Dragon Fang (Dungeon) Entrance Operation Base, this leads into Faded Gold Depot → Hallow Soul Depot → Death Dragon's Soul Palace.
Skasa's territory is located behind Bakal's Main Hall and can also be accessed from either going through Dragon Fang or Claw's routes. This also leads into Fixed Pond → Dark Cloud Tower → Ice Dragon's Frozen Palace.
The raid leader is able to use a tool on the map to designate certain dungeons as the next target for each party (red, yellow, green). Players should pay attention to these map markers, particularly if they are not using a third-party voice chat program, as it can be difficult for the raid leader to type to communicate while trying to clear dungeons.
Great Dragon Trio & Sphere Effects
- When first confronting a Gatekeeper Boss Monster, either Hismar, Spirazzi or Skasa is randomly awakened, automatically activating their Spheres. Functioning similarly like Total War's penalties upon entering any of the awoken Great Dragon Trio's Palace Zones, they'll begin casting a persistent Abnormal Status effect that can potentially hinder the party's progress, unless the party involved obtains Status Immunity buffs from Mid-bosses is one way to help against the Trio. Once defeated, they'll transfer their powers over to Bakal during his battle at certain intervals, regardless of which phase he's in.
Gatekeepers & Marchers
- Before reaching either Bakal and his Great Dragons, they are each guarded by one of four Gatekeeper Dragonoid Boss Monsters consisting of; Magic Dragon Basilisk, Nine-tailed Blona, Gherda of the Ice and Wicked Dragon Nympha. Except for Gherda, the other three functions as a Fiend War Logistics Base, which lets them generate Marcher Units bein either
 Rage Dragon Brute or
  Steel Dragon Tank , that'll make their way towards an Allied Operation Base by one minute per slot to attack, summon mobs within that area and greatly increases the Conflagration Gauge by 25% if successfully invaded the base. Defeating any of these four bosses grants access to a temporary post with the Flughafen, but keep in mind that they'll regenerate after roughly 15 minutes have gone by, meaning you'll have to fight them again.
Party Buffs
These buffs only occur whenever Red/Yellow/Green Parties are defeating bosses. It's immediately applied for a temporary 360 - 480 seconds (roughly around 6 - 8 minutes), towards the party who defeated them, and is able to help against battling either Bakal or the Great Dragon Trio. If running on Hard Mode, some of those immunity buffs may have their duration reduced.
Commander Buffs
When obtaining Commander Buffs that consists of Empyrean Allied Forces members, these are shared among the entire raid and only party leaders can use them through hotkey commands with various effects.
| Empyrean Allied Forces | Main Effect | Command Key |
|---|---|---|
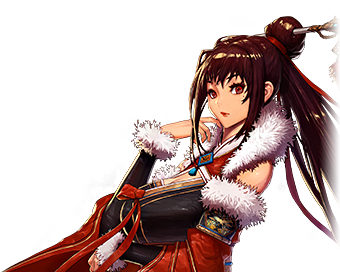 |
Noble Duty: Sarah encourages you. Grants immunity to all Abnormal Status effects for 1 minute. (60 seconds) (Not applicable to special attacks from dragons) | ~ 1 |
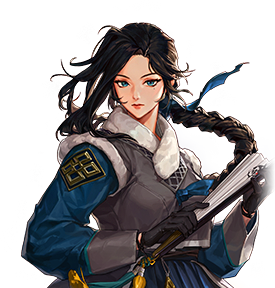 |
Strategic Supply: Rosa Jurgen provides you with supplies. Increases Life Token limit by 3. | ~ 2 |
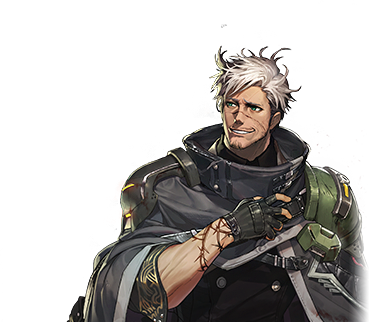 |
Decisive Shot: Spitfire Flo provides fire support. Increases damage by 20% for 30 seconds. | ~ 3 |
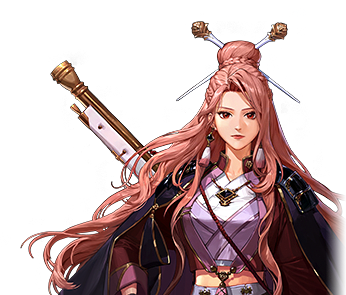 |
Empyreans' Wishes: Commander Irine prays for her forces. Grants Invincibility for 10 seconds. | ~ 4 |
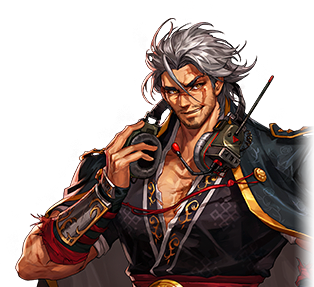 |
Secure Retreat: Juvenil helps you make a strategic retreat. Return immediately without penalties. (Cruel King of Dragons' Main Hall's Encroachment penalty excluded) | ~ 5 |
King of Dragons' Conflagration Gauge
- Apart from the Raid's maximum time limit, Bakal will begin to gather power from his Great Dragons' spheres throughout its progression via Conflagration Gauge that's on the UI's top right screen starting off at 0%. This gauge will only start increasing from specific conditions through points that total up to 8000(Normal)/7000(Hard). All three parties must coordinate on doing their respective tasks to prevent Bakal's Conflagration Gauge from reaching 100%, or that operation is considered a failure.
Monsters
Cruel King of Dragons' Main Hall
Cruel King of Dragons' Road
Berserk Dragon's Destroyed Palace
Death Dragon's Soul Palace
Ice Dragon's Frozen Palace
Dragon Fang / Claw
Bakal Raid Clear Rewards
All three parties will receive the following rewards via Card Flips if they have at least defeated three or more bosses:
- max-width:300px 100
- max-width:300px 100
- max-width:300px 100
- max-width:300px 100
- max-width:300px 100
- max-width:300px 100
- max-width:300px 100
- max-width:300px 100
- max-width:300px 100
Hard Mode Rewards
- max-width:300px 100
- max-width:300px 100
- max-width:300px 100
Neo Premium Contract Benefits:
- max-width:300px 100
- max-width:300px 100
Gold Card Flips may yield:
- 1 Machine Revolution Fusion Equipment
- 1 Level 105 Epic Equipment with Custom Options (Levels 70 ~ 75)
- 1 Level 105 Sacrosanct Area Legendary Pot (Machine Revolution)
- 1 Level 105 Dark Fragmented Abyss Unique Equipment
- 1 Unique or Legendary Machine Revolution Monster Card
Bakal Hard Mode
The Global Client would receive a much tougher version of Bakal Raid that would be implemented within a September 19th, 2023 update. Apart from the increased Adventurer Fame requirements, there are several changes to make this a far more challenging experience for players.
Differences from Normal Mode
- The Conflagration Gauge is lowered to 7000 points, +200 per 10 seconds if nobody is fighting Bakal.
- Bakal awakens after 7 minutes have gone by.
- All three Great Dragons awakens at once when encountering a Gatekeeper boss.
- Defeating Marchers grants Immunity buffs instead of Commander ones.
- Minibosses respawn after 3 minutes, and defeating them grants a stronger +85% Berserk/Death/Ice Dragon + Bakal damage buff.
- Juvenil's Secure Retreats increased to 2.
- Dragonoid Warrior removed and replaced with Rotund, who offers Commander buffs.
- Anti-Bakal weapon can be enabled through defeating any Great Dragons while fighting Bakal, able to reduce half of his Neutralize Gauge.
- All Great Dragons and Bakal have increased health and adjusted attack patterns.
Tales Exchange System (Formerly)
As of the Forest of Awakening Patch, ![]() Tales of Bravery - The Machine Revoluton &
Tales of Bravery - The Machine Revoluton & ![]() Conqueror's Token - The Machine Revoluton have been completely removed from the Global Client, but the Tales Exchange will still remain through various NPCs.
Conqueror's Token - The Machine Revoluton have been completely removed from the Global Client, but the Tales Exchange will still remain through various NPCs.


