Welcome to the DFO World Wiki. With many major updates since the release of DFO, many items are missing. Visit Item Database Project to learn more.
Please remember to click "show preview" before saving the page.
Thanks for the updated logo snafuPop!
Abyss Walker
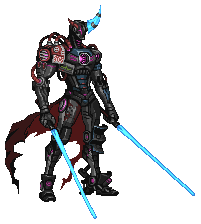
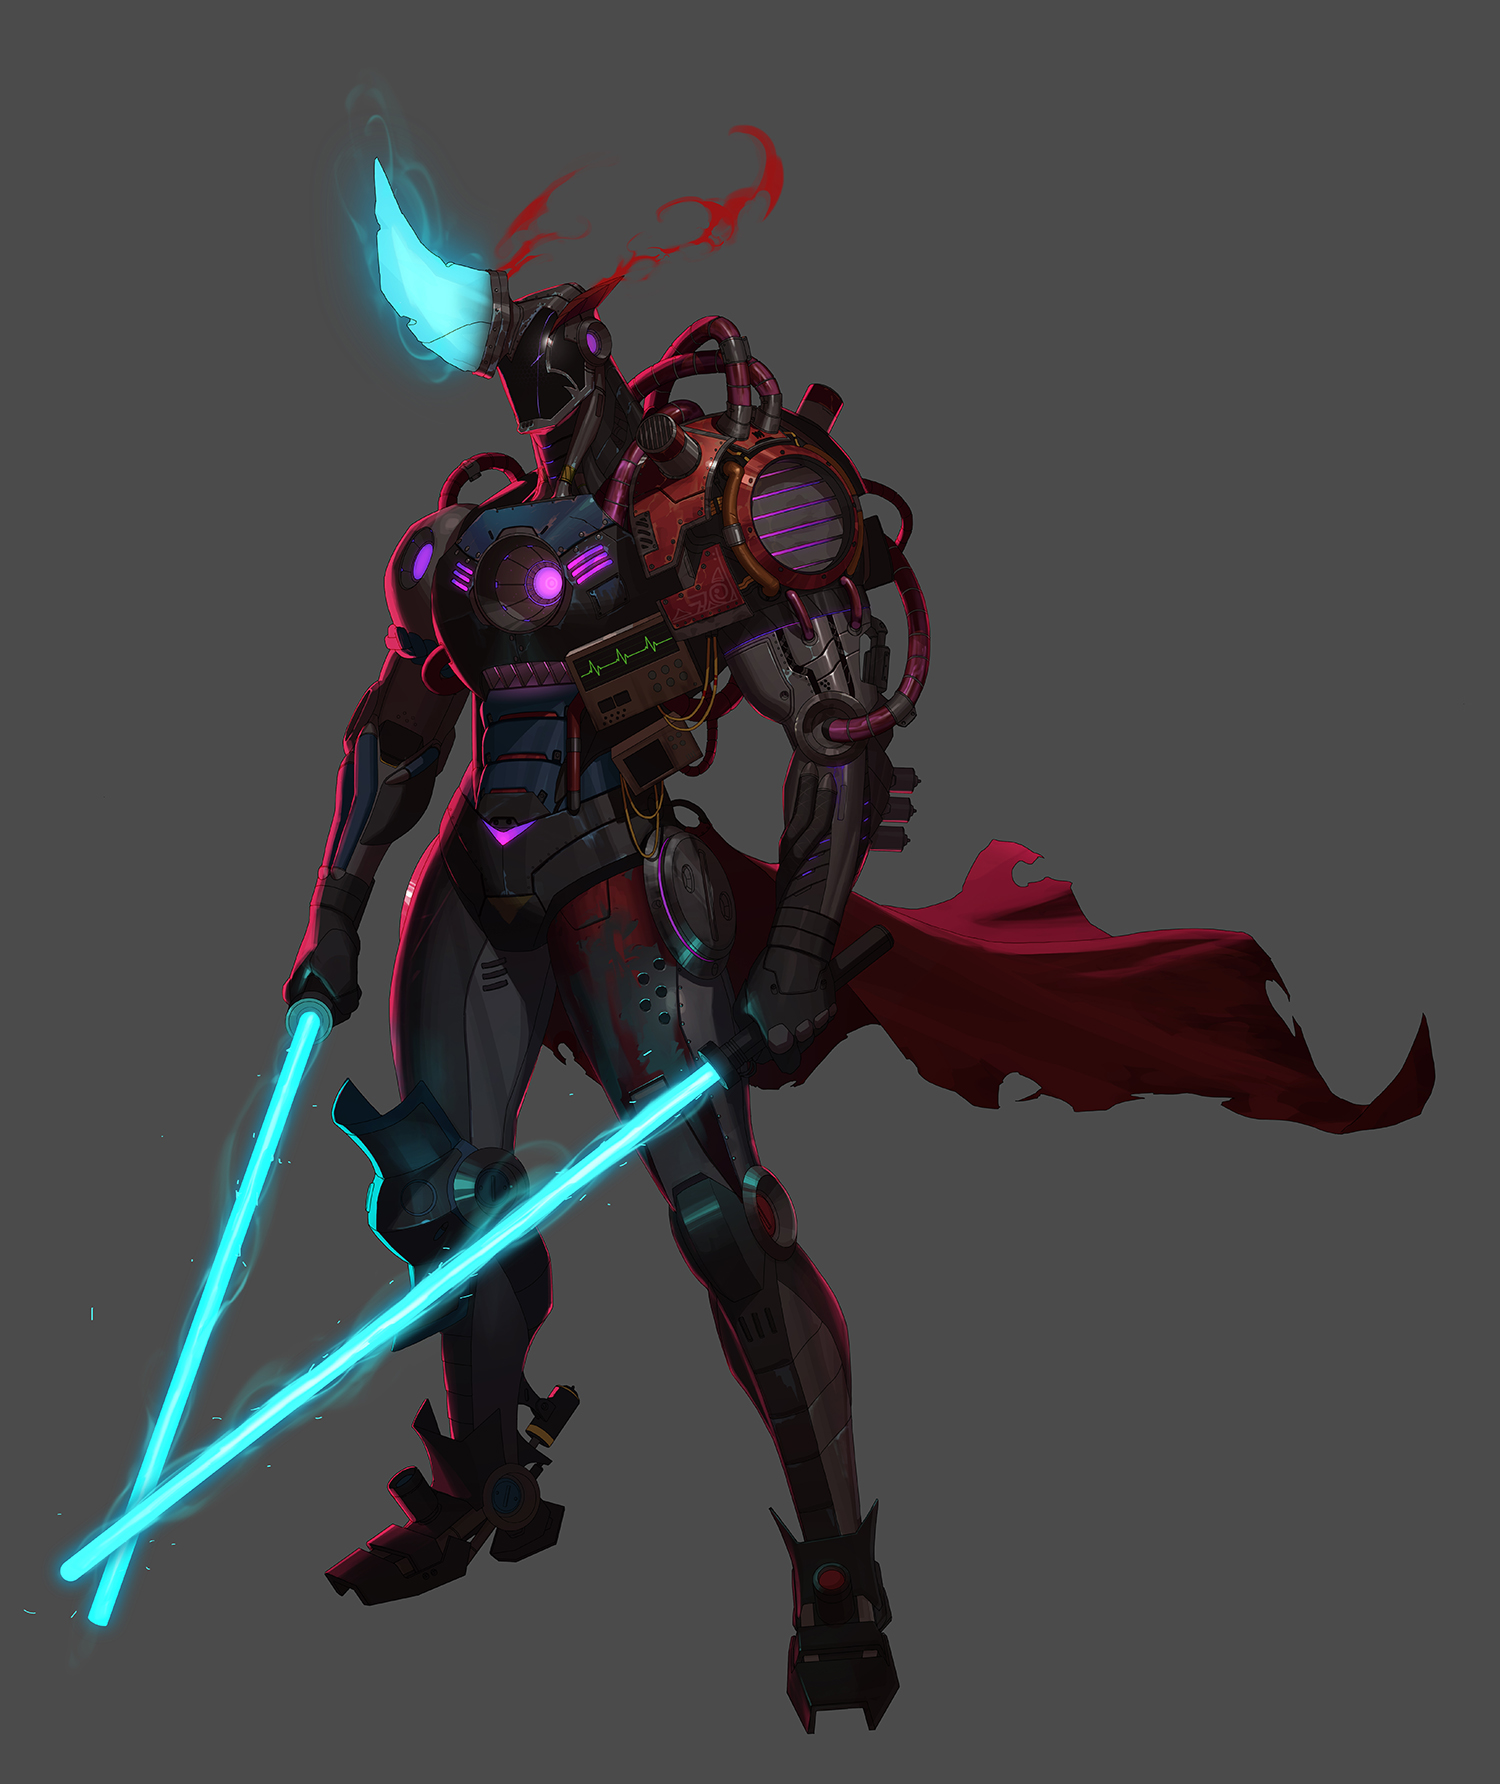
The Abyss Walker makes it's debut at the final boss for the Advanced Dungeon, Destroyed Castle of the Dead. It is a revived and merged fusion between Luke's followers, Moonlight Walker Yashin & Evil Sword Veara through the Abyss.
Contents
Lore
Destroyed Castle of the Dead Lore Excerpt:
In the complete darkness, only two swords gleam. Have I turned inward to reach the next level as a swordsman? Or... am I in Hell?
Does it matter where I am? My sword still thirsts for enlightenment, and I have a body to hold and swing it. I'll swing it until I surpass my friend, or until I die trying.
What I swing is my sword and my will. My moving body is my unfaded faith and my fighting will. I'm content, just holding my sword like this.
"Geez, stop glorifying yourself. You're a killer, just like me."
Who are you? An enemy?
"Wow, don't you know? Now, I'm you."
Show yourself and clash your sword against mine. You're just a weak shadow hiding in the darkness.
"You want me to show myself? Hah hah. As you wish."
My field of vision turns red. The pitch-dark space is now shimmering in red. Thirst for strength and bloodlust start boiling inside me.
"Hah hah. Yes, I remember this feeling. Can't wait to kill something!"
Someone else inside me speaks words that I didn't intend. My hand moves of its own accord, swinging my sword, spraying blood in the air. Ah... So, I'm in Hell...
[1]
As an Enemy
Appearances
- Storm-Called Castle (Boss)
- Heblon's Altar (Boss)
- Destroyed Castle of the Dead (Advanced) (Boss)
Move Set
Phase 1
- Mode Change: Throughout the entire fight, Abyss Walker has the ability to change either between Yashin or Veara Modes whenever a yellow gauge timer completely fills after some time has passed. Each Mode has their own attack patterns, including a gauge at 100% for both sides. Attacking Yashin depletes the blue gauge, while attacking Veara depletes the red gauge. If both gauges reach 0%, Abyss Walker will get incapacitated.
- Reactive Shield: In either Mode's gauge difference is over 50% and when Abyss Walker begins to Mode Change, it'll activate a shield alongside lightning bolts striking downwards. DO NOT even attempt to break the shield during this pattern with multi-hits, otherwise whichever mode Abyss Walker is in, will capture the player and deal a counter-attack that's fatal enough to kill them.
Yashin Mode
- Sabre Slashes: He'll perform a series of basic sword slashes with his twin Lightsabres.
- Stealth Clone: Yashin's main body goes transparent, as he's able to summon a hologram of himself to attack. Once the clone is done attacking, Yashin targets a player to do a Rushing Slash.
- Rushing Slash: Yashin targets a player, then attempts to charge forward and does a heavy slash attack. On Master, he'll summon a hologram to rush at them in different directions.
- Shuriken Throw: He'll leap up to throw down four Shurikens that stick onto the ground, exploding after a few seconds.
- Moonlight Slash: Very identical to his Luke Raid main pattern, Yashin jumps into the middle section as the screen darkens with a moon behind him. He'll deploy around eight blue lines which are movement paths for his hologram clones, each of them will follow that path with a wide-area sword slash, then they'll charge up to shoot out a
 Spirit Crescent before moving back into Yashin.
- Mass Shuriken Throw: Yashin constantly leaps around the map, as he places down numerous hologram clones of himself to fire out three Shurikens in multiple directions.
- Berserk
- Maximum Charge: If Yashin Mode's gauge is a 0%, he'll move into the center and begins to recharge with four circles rotating around him. In the meantime, blue orbs appear around the map whenever a lightning bolt strikes down while holograms randomly appears to attack. Before the timer gauge depletes, all party members must grab an orb and place it their own respective rotating circle, as this creates a shield for each player for protection. After Yashin finishing charging, he'll transform his sabres into scythes to deal a final attack that can potentially kill anyone who doesn't have a shield.
Veara Mode
- Continuous Sword Slash: Similar to Yashin's Rushing Slash, Veara instead relies on dealing slow, yet heavy slashes with his double-bladed lightsabre.
- Energy Blast: Veara fires out a red laser beam forward from his sword, inflicting a
 Burn (Status) if hit. On Master difficulty, he'll summon two holograms of himself above and below to also shoot beams.
- Red Whirlwind: Veara jumps into the middle section, as he launches out four whirlwinds that traverse from left to right in a X-shaped pattern. In Master difficulty, the whirlwinds leave a flame trail behind for a short time.
- Fire Wall: Veara divides the entire map into four sections with a fire wall, with arrows directing where the flame explosion will occur. Players can jump over the walls to avoid being hit, but do not touch them as they inflict a
 Burn (Status) and quickly drain HP.
- Anti-Gravity Release: Veara starts to summon red anti-gravity particles that'll begin rotate inwards to form a larger particle, then a series of lasers begin firing down going in a circular clockwise pattern, then Veara jumps upward to stab at the particle to unleash explosives paths.
Phase 2
- Unification: Once Abyss Walker hits 50% of it's health, both Yashin and Veara Modes unite as one. The only difference is that some of their patterns are modified.
- Reactivate Shield - Composite: Essentially a combined version of Reactive Shield, except that both Yashin and Veara deal a dual-attack if the shield breaks.
- Maximum Output - Final Stage: A combination of Anti-Gravity Release and Maximum Charge where Veara instead, summons three anti-gravity particles with randomly placed laser blasts firing down that no longer go in a clockwise direction, then Yashin prepares his berserk afterwards that now features Veara's hologram, then launching out Red Whirlwinds before Yashin deals the final strike.
- Self-Destruct Sequence: at 1% of HP, Abyss Walker initates a Self-Destruction sequence with a purple timer gauge above it. Basically deplete it's HP down to zero from being killed by the explosion before time runs out.
Strategy
Quotes
Trivia
- There are flavor text specified on Plate Armor Epic Equipment that's themed after the boss.
- The "Abyss Walker" moniker, could be based on Knight Artorias from Dark Souls.
Rewards
 Red Dusk Crystal in Destroyed Castle of the Dead (Advanced) (all difficulties)
 Shattered Red Dusk Crystal in Destroyed Castle of the Dead (Advanced) (all difficulties)
 Flawless Golden Beryl in Destroyed Castle of the Dead (Advanced) (all difficulties)
 Destroyed Castle of the Dead Ticket in Destroyed Castle of the Dead (Advanced) (all difficulties)
 Destroyed Castle of the Dead Ticket (Tradable) in Destroyed Castle of the Dead (Advanced) (all difficulties)
- Level 105 Fixed Normal, Area or Custom Epic Options Equipment

